How to Save a Dying Orchid Revival Guide
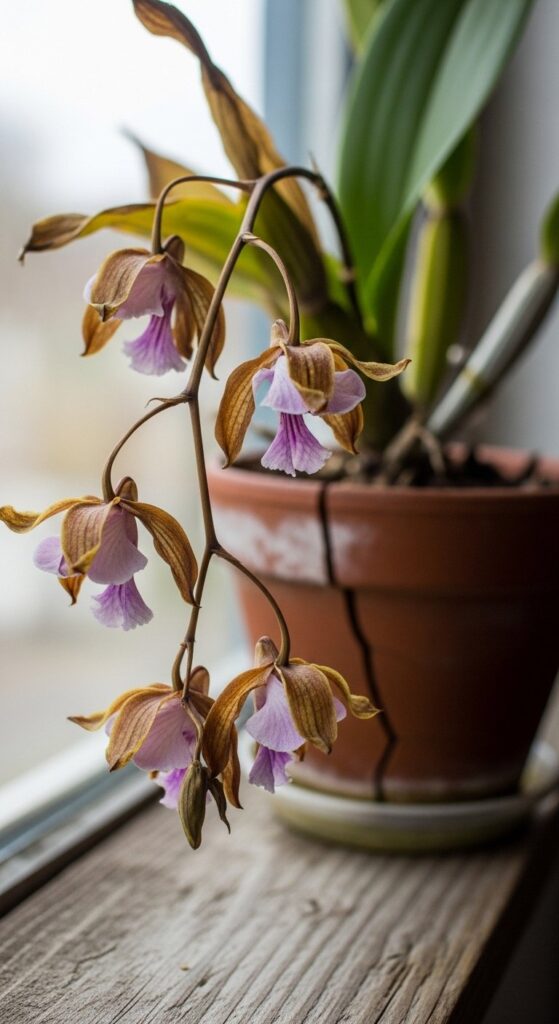
Orchids have a reputation for being difficult and dramatic. Many people receive a beautiful blooming orchid as a gift, only to watch the flowers fall off and the leaves turn yellow a few weeks later. It is very common for people to throw these plants away because they think they are dead.
However, orchids are much tougher than they look. In the wild, they grow on trees and rocks, surviving wind and rain. Most of the time, a “dying” orchid is just a plant that is resting or struggling with a simple environment issue. If the stem is still green or the roots feel firm, you can almost always bring it back. This guide will show you how to identify the problem and revive your orchid step-by-step.
Step 1: Perform a Health Check
Before you start the revival process, you need to understand what the plant is trying to tell you. An orchid usually fails for one of three reasons: bad roots, wrong light, or incorrect watering.
Reading the Leaves and Roots
| Part of Plant | What Healthy Looks Like | What Trouble Looks Like |
| Leaves | Firm, bright green, stands upright | Limp, wrinkled, yellow, or black spots |
| Roots | Plump, silver-green or white | Mushy, black, brown, or dry and brittle |
| Crown | Hard and green at the center | Soft, black, or slimy (Crown Rot) |
| Stem | Green and sturdy | Shriveled and brown |
Step 2: Saving an Overwatered Orchid (Root Rot)
Root rot is the most common reason orchids die. Because orchids grow on trees in nature, their roots are designed to breathe air. If they sit in soggy moss or standing water, they literally drown and begin to rot.
How to Fix Root Rot
If your orchid leaves are wrinkled but the soil is wet, the roots have likely stopped working.
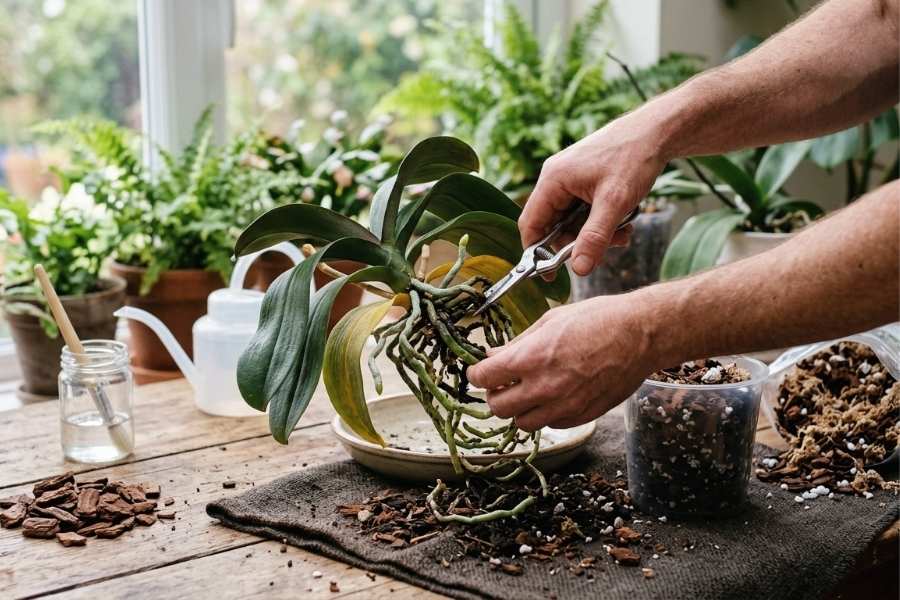
- Remove the plant: Gently pull the orchid out of its pot. Shake off all the old bark or moss.
- Wash the roots: Rinse the roots under lukewarm water so you can see them clearly.
- Sanitize your tools: Wipe a pair of scissors or garden snips with rubbing alcohol.
- Prune the rot: Cut away any roots that are mushy, black, or hollow. Only keep the roots that feel firm to the touch.
- Apply a natural fungicide: Many indoor gardeners use a light sprinkle of ground cinnamon on the cut ends of the roots. Cinnamon is a natural way to prevent fungus and help the plant heal.
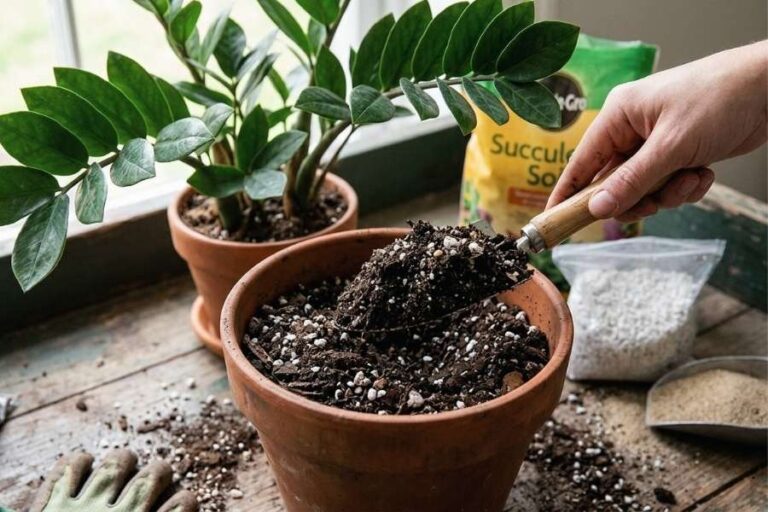
- Repot in fresh bark: Never reuse old orchid mix. Use a fresh bag of high-quality orchid bark. This allows plenty of air to reach the remaining roots.
Step 3: Reviving a Dehydrated Orchid
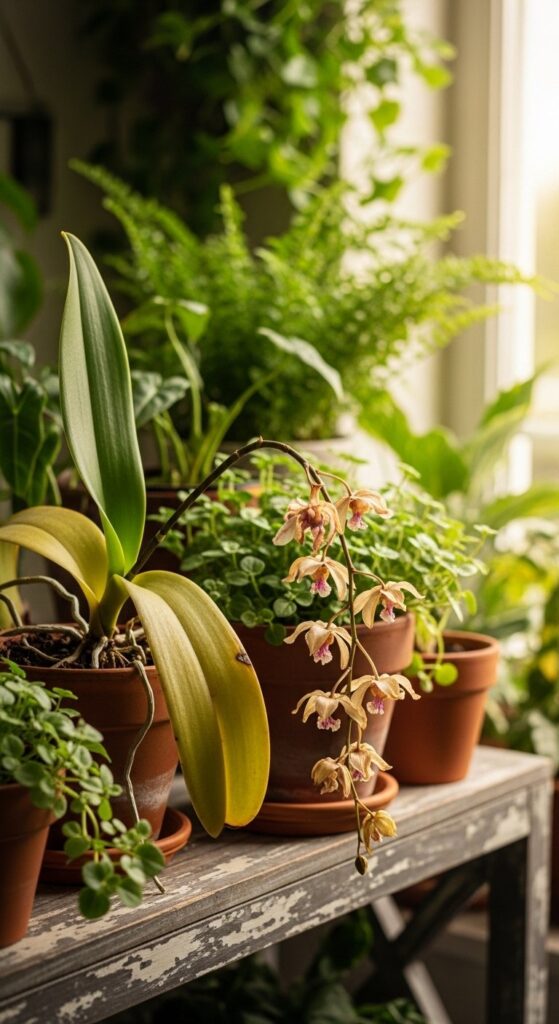
If your orchid has dry, brittle roots and the leaves look like wrinkled leather, it is extremely thirsty. This often happens if the plant was left in a hot room or forgotten for several weeks.
The “Deep Soak” Recovery Method
- Find a basin: Fill a bowl or sink with lukewarm water. Do not use ice-cold water as it shocks the tropical roots.
- Soak the pot: Place the orchid pot in the water. Ensure the water level comes up to just below the leaves.
- Wait 30 minutes: Let the bark soak up as much moisture as possible. The roots should turn from silver to a bright, healthy green.
- Drain completely: This is the most important part. Lift the pot out and let all the excess water drain out of the holes. Never let an orchid sit in a saucer of water.
- Increase humidity: Place the orchid near a tray filled with pebbles and a little water. As the water evaporates, it creates a humid “micro-climate” that helps the leaves recover.
Step 4: Solving Light and Temperature Problems
Orchids are very picky about their “workspace.” If they don’t like the light, they will stop growing.
Too Much Sun (Sunburn)
If your orchid has bleached white patches or crispy black edges on its leaves, it is getting too much direct sun.
- The Fix: Move it away from the window. Orchids love bright light, but they want it “filtered,” like through a sheer curtain.
Too Little Light
If the leaves are a very dark, forest green and the plant hasn’t bloomed in a year, it is bored. It needs more energy to produce flowers.
- The Fix: Move it to an East-facing window where it can get gentle morning sun.
Step 5: Dealing With Crown Rot
Crown rot is very serious. It happens when water gets trapped in the very center of the plant (the crown) and sits there. If the center of your orchid feels mushy or the leaves are falling off from the middle, you have crown rot.
- Dry it out: Use a paper towel to soak up any visible water in the crown.
- Hydrogen Peroxide: Pour a tiny bit of 3% hydrogen peroxide into the crown. It will bubble up and kill the bacteria.
- Tip the plant: Keep the plant tilted for a few hours so any liquid can run out.
- Prevention: Always water the “soil” or bark, never the leaves or the center of the plant.
Essential Supplies for Orchid Revival
If you want to save your orchid, you need to move it out of the cheap decorative moss it came in.
| Item | Purpose | Why it helps |
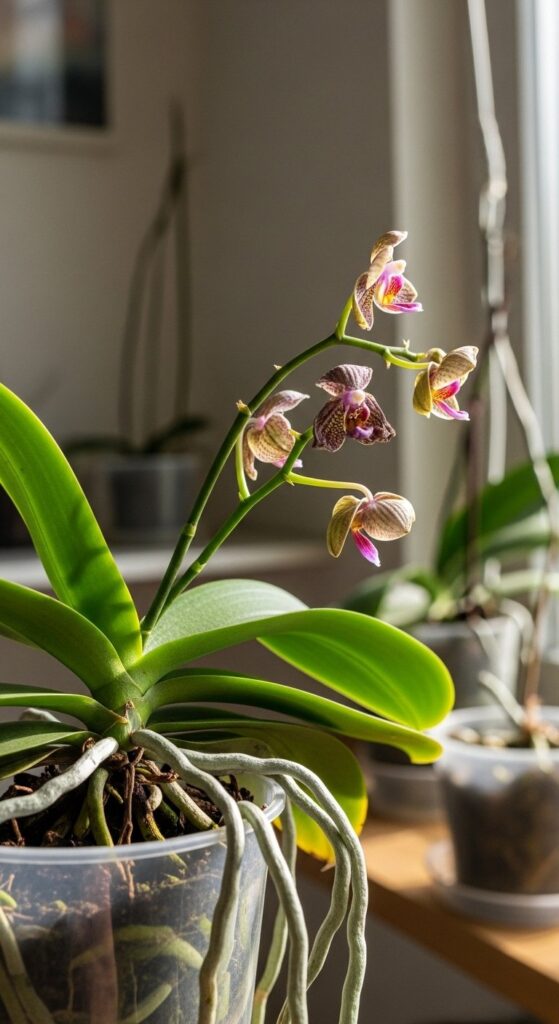
| Clear Plastic Pot | New home | Allows you to see the roots and check for rot easily |
| Orchid Bark Mix | Growing medium | Provides the massive airflow that orchid roots require |
| Spray Bottle | Humidity | Good for misting aerial roots (the ones that grow in the air) |
| Balanced Fertilizer | Nutrition | Use “weakly, weekly” to give the plant strength to regrow |
Practical Advice for Long-Term Success
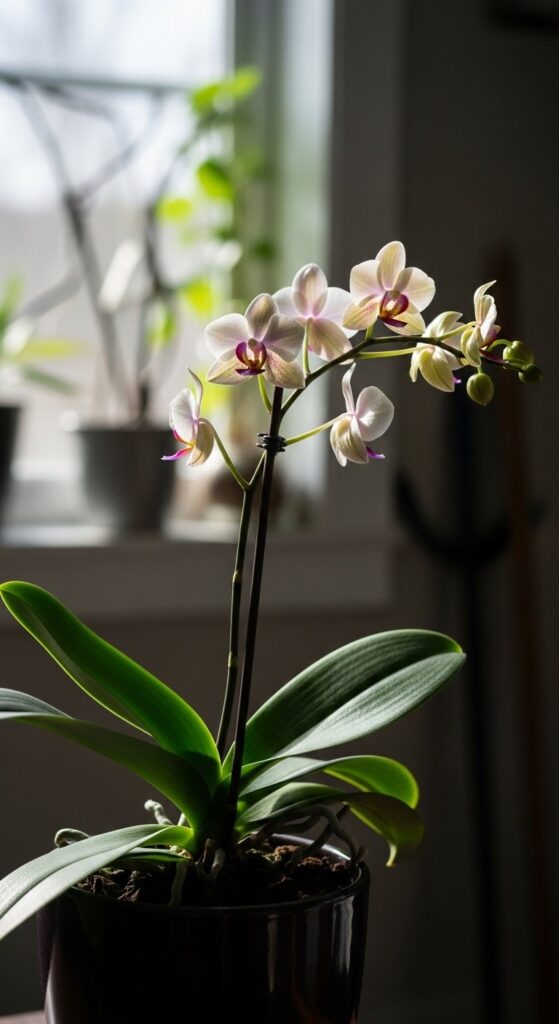
Once your orchid starts growing a new green leaf or a fresh root tip, you are on the right track. Here is how to make sure it stays healthy.
Master the Finger Test
Do not water your orchid on a schedule. Stick your finger an inch into the bark. If it feels damp, walk away. If it feels dry and the roots look silver, it is time to water.
Airflow is Secret
In the jungle, orchids feel a constant breeze. If your house is very stuffy, your orchid might struggle. Keeping a small fan in the room or opening a window for an hour can prevent fungus and help the plant thrive.
Temperature Drops for Blooms
If your orchid looks healthy but won’t bloom, it might be too warm at night. To trigger new flowers, orchids often need a slight temperature drop at night (about 10 degrees cooler) for a few weeks in the autumn or winter.
Summary of the Orchid Revival Guide
Saving an orchid is a slow process. These plants do everything at a relaxed pace. It might take months for a wrinkled leaf to look firm again, or even a year for a new flower spike to appear.
Remember these golden rules:
- Check the roots first: They tell the true story of the plant’s health.
- Drainage is non-negotiable: Orchids must never sit in water.
- Use the right dirt: Only use bark or specialized orchid mixes.
- Be patient: As long as there is some green on the plant, there is hope.
When you see that first tiny green root tip poking out of the bark, you will know you have succeeded. Taking a plant from the brink of death back to a beautiful bloom is one of the most satisfying parts of indoor gardening. You can do this!