Best Soil for Zz Plant: Perfect Growth Guide
I used to struggle with my plants because I thought all dirt was the same. I would grab a bag of generic soil from the store and hope for the best. Usually, my plants would turn yellow or just stop growing.
When I finally brought home a ZZ plant, I realized that the right soil is actually the most important part of its care. This plant is famous for being tough, but even the strongest plant needs a good home for its roots. Here is everything I have learned about finding and making the best soil for your ZZ plant.
Why Soil Choice Matters for Your ZZ Plant
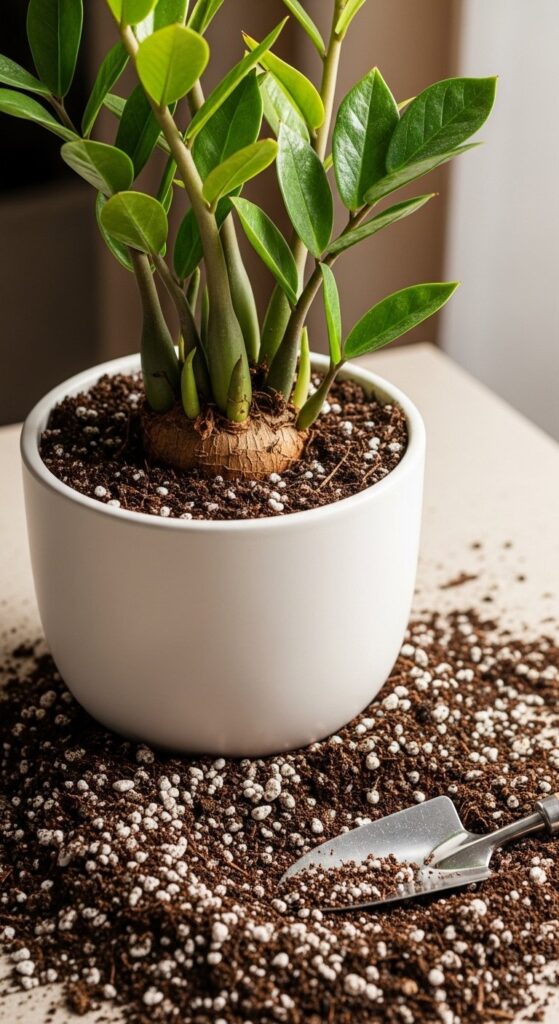
The ZZ plant is a unique creature. It grows from thick, potato-like structures under the dirt called rhizomes. These rhizomes are amazing because they store water. This is why the plant can survive for weeks without a drink.
However, because they store so much water, they are very sensitive to rot. If the soil stays wet for too long, the rhizomes will turn mushy. Once that happens, the plant is very hard to save. The right soil ensures that water flows through quickly while still giving the roots enough room to breathe.
The Problem with Standard Potting Soil
Most cheap potting soils are made to hold onto water. This is great for flowers that get thirsty every day. But for a ZZ plant, it is like sitting in a bathtub with your shoes on. The soil becomes heavy and thick. It squeezes the roots and prevents oxygen from reaching them.
The Key Features of Perfect ZZ Plant Soil
When you are looking for soil or mixing your own, you should look for three main things. I call these the “Big Three” of ZZ plant health.
1. Excellent Drainage
Drainage is the ability of water to move through the soil and out the bottom of the pot. When you water your plant, the water should disappear from the surface in a few seconds. If it sits on top like a puddle, your soil is too dense.
2. Aeration and Airflow
Roots need to breathe just like we do. Good soil has tiny air pockets. These pockets allow oxygen to reach the rhizomes. Ingredients like perlite or coarse sand help create these spaces.
3. Light Texture
The soil should feel light and crumbly in your hands. If you squeeze a handful of damp soil and it stays in a hard ball, it is too heavy. It should fall apart easily when you let go.
Recommended Soil Mix Ingredients

You don’t have to be a scientist to make a great soil mix. You just need to know what each ingredient does. Here is a table showing common components and their jobs.
| Ingredient | Purpose | Why your ZZ Plant likes it |
| Peat Moss | Holds some moisture | Provides a soft base for roots |
| Perlite | Improves drainage | Creates air pockets to prevent rot |
| Coco Coir | Sustainable base | Doesn’t pack down over time |
| Pine Bark | Adds structure | Mimics a natural forest floor |
| Coarse Sand | Speeds up water flow | Helps water reach the bottom quickly |
| Pumice | Aeration | Heavier than perlite so it doesn’t float |
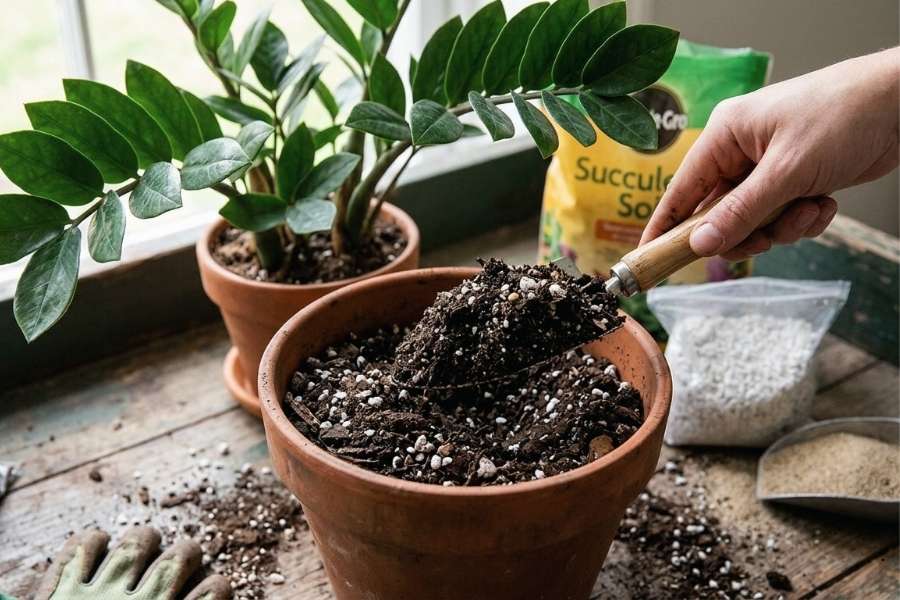
How to Make the Perfect Homemade ZZ Soil Mix
I prefer making my own mix. It is often cheaper and better for the plant. You can control exactly what goes into the pot. Here is a simple recipe that I use for all my ZZ plants.
The “Golden Ratio” Recipe
- 2 Parts Standard Potting Mix: This provides the basic nutrients.
- 1 Part Perlite: This ensures the soil stays light.
- 1 Part Succulent or Cactus Mix: This adds extra drainage and sand.
Steps to Mix Your Soil
- Find a large bucket or a plastic bin.
- Pour in your ingredients using a small scoop or a cup to measure.
- Mix it thoroughly with your hands or a small shovel.
- Make sure there are no large clumps of dirt.
- Test the feel. It should feel gritty and light.
Best Store-Bought Options
If you don’t want to mix your own, that is perfectly fine. You just need to buy the right type of bag. Do not buy “Moisture Control” mixes. Instead, look for labels that mention:
- Cactus and Succulent Mix
- Aroid Soil Mix
- Professional Potting Mix with added Perlite
Personal Tip: Even when I buy a high-quality cactus mix, I still add a handful of perlite. It gives me extra peace of mind that the roots won’t drown.
Practical Advice for Potting Your ZZ Plant
Choosing the soil is only half the battle. How you put the plant in the pot matters too.
Use the Right Pot
No matter how good your soil is, it won’t work if the pot has no holes. Always use a pot with drainage holes at the bottom. If you have a decorative pot with no holes, keep the plant in a plastic nursery liner inside the fancy pot.
Don’t Pack It Too Tight
When you put the plant in its new soil, do not press down too hard with your fingers. You want the soil to be firm enough to hold the plant up, but not so tight that you crush the air pockets.
Signs Your Current Soil is Wrong
Your ZZ plant will try to talk to you through its leaves. If the soil is not working, you will see specific signs. Here is what to watch for:
- Yellow Leaves: This usually means the soil is staying wet for too long.
- Mushy Stems: This is a sign of root rot from heavy soil.
- Slow Growth: If the soil is too hard, the roots cannot expand.
- Fungus Gnats: These tiny black bugs love wet, heavy soil.
- Water Not Draining: If water stays on top for minutes, the soil is compacted.
General Care and Maintenance
Once your ZZ plant is in its perfect soil, the hard work is done. Now you just need to maintain it.
Watering Schedule
I never water my ZZ plant on a set schedule like “every Monday.” Instead, I check the soil. Stick your finger two inches deep into the dirt. If it feels even a little bit damp, wait. I usually water mine once every three to four weeks. In the winter, it might be even less.
When to Repot
ZZ plants actually like being a little bit crowded. You only need to change the soil and move to a bigger pot every two or three years. If you see the thick rhizomes pushing against the sides of the pot, it is time for a change.
Cleaning the Soil Surface
Sometimes, a white crust forms on top of the soil. This is usually just salt and minerals from your tap water. You can gently scrape off the top inch of soil and replace it with fresh mix every few months to keep things clean.
Summary of Success
Creating the best environment for your ZZ plant is about balance. You want enough dirt to give it food, but enough “space” to keep it dry.
Remember these main points:
- Always prioritize drainage over everything else.
- Avoid heavy, dark garden soils.
- Use cactus or succulent mixes if you buy store-bought bags.
- Make sure your pot can breathe.
- Trust the “dry” look; your plant would rather be thirsty than drowning.
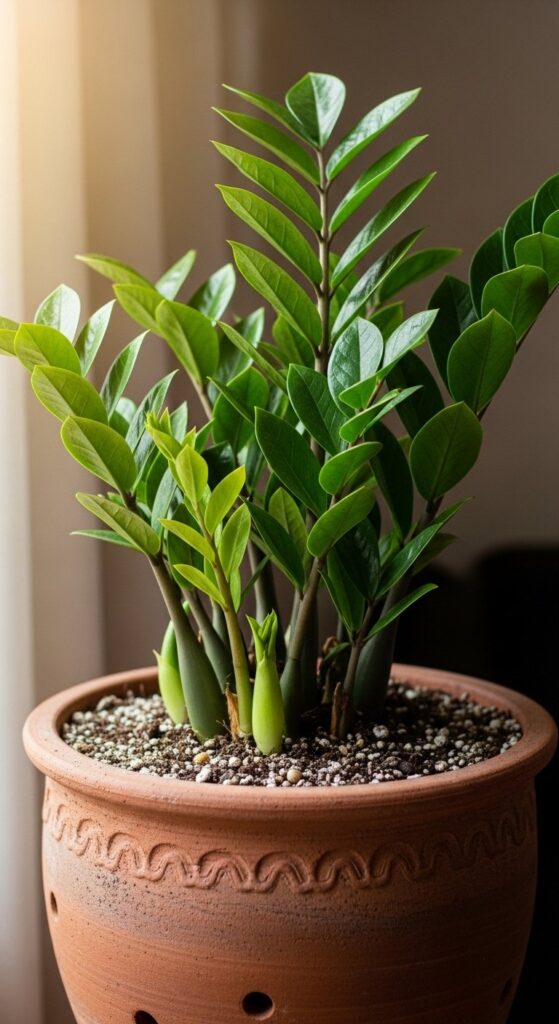
If you follow these steps, your ZZ plant will grow tall and stay a deep, shiny green. It is a rewarding feeling to see a new bright green shoot popping out of the dirt, knowing the soil underneath is healthy and perfect.